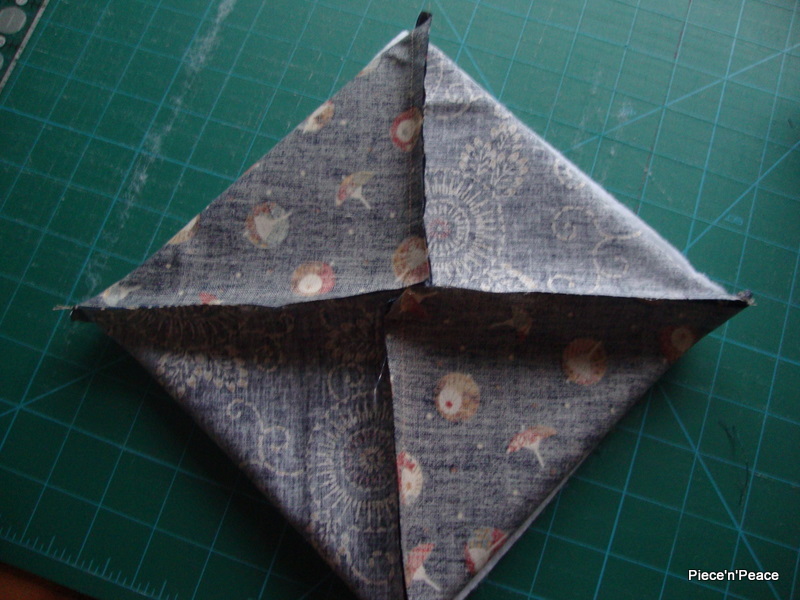
This is the sample piece I made on the day:

To make one block you need
4 x 6" squares of fabric, two contrasting or complementary fabrics are nice
1 x 7.5" square of wadding
Sewing and quilting threads
1. Join the four squares of fabric to make a 11.5" square

2. Place the wadding on the wrong side, positioning it on the diagonal in the middle of the block. Secure it in place, either with a few stitches at each corner or with a squirt of 505.

3. Fold in half, rightsides together and stitch the short ends.

4. Open out and line the long sides up. Stitch together, leaving a small gap to turn the block out. NB don't leave the gap at one of the ends as it will be more difficult to keep the corners neat.
5. Turn through the block, ensuring the corners are pulled out and then handstitch the gap closed.

6. Press and "quilt as desired".
You can make a quilt with these blocks and it will be all finished, wadding, backing and all as soon as you've joined the blocks. I just made a single block and decorated it with sashiko stitching and tassels to make a pretty little mug rug, although, with the Japanese theme I had to have a pretty tea cup and saucer on mine.

I love this idea. I've seen this process done with just the fabric for various projects but never with the wadding inside. It's inspired and would have made making coasters for all the family for Xmas a couple of years ago much quicker if I'd known.
ReplyDeleteTeresa x
Neat idea... love the tassels too! I find it so amazing how many different ways there are to make one thing... ways I would never have thought of!
ReplyDeleteLOVELY! I especially like the stitching and the tassel :-) It looks so easy too!
ReplyDeleteThat's a great idea for a mug rug - binding something small is really fiddly! I guess it would work for any orphan block that can be squared off. I shall Pin it and then I can find it again when I need inspiration!
ReplyDeleteI love this - and I'm pleased that Benta mentioned it on her blog as I missed it when it first appeared! Thanks for sharing!
ReplyDeleteThis looks lovely..could you please tell me what the completed size is?
ReplyDeleteHello Dee, the finished mat is 4 3/8" square (11cm).
Delete